最近媳妇儿买了个打印机 要打印儿子照片
由于之前都是在 Windows 上安装打印机 这次台式机安装了 CentOs 的系统 并且是最小安装的(没有界面)
研究了一下 还是挺简单的 记录一下遇到的小坑
安装打印机
第一步 安装 打印机软件和驱动
1 | yum install -y cups hplip-gui hplip hpijs |
第二步 修改地址 开放端口
1 | vi /etc/cups/cupsd.conf |
第三步 添加打印机
- 连接打印机和电脑
- 打开管理界面
http://服务器地址:631/admin 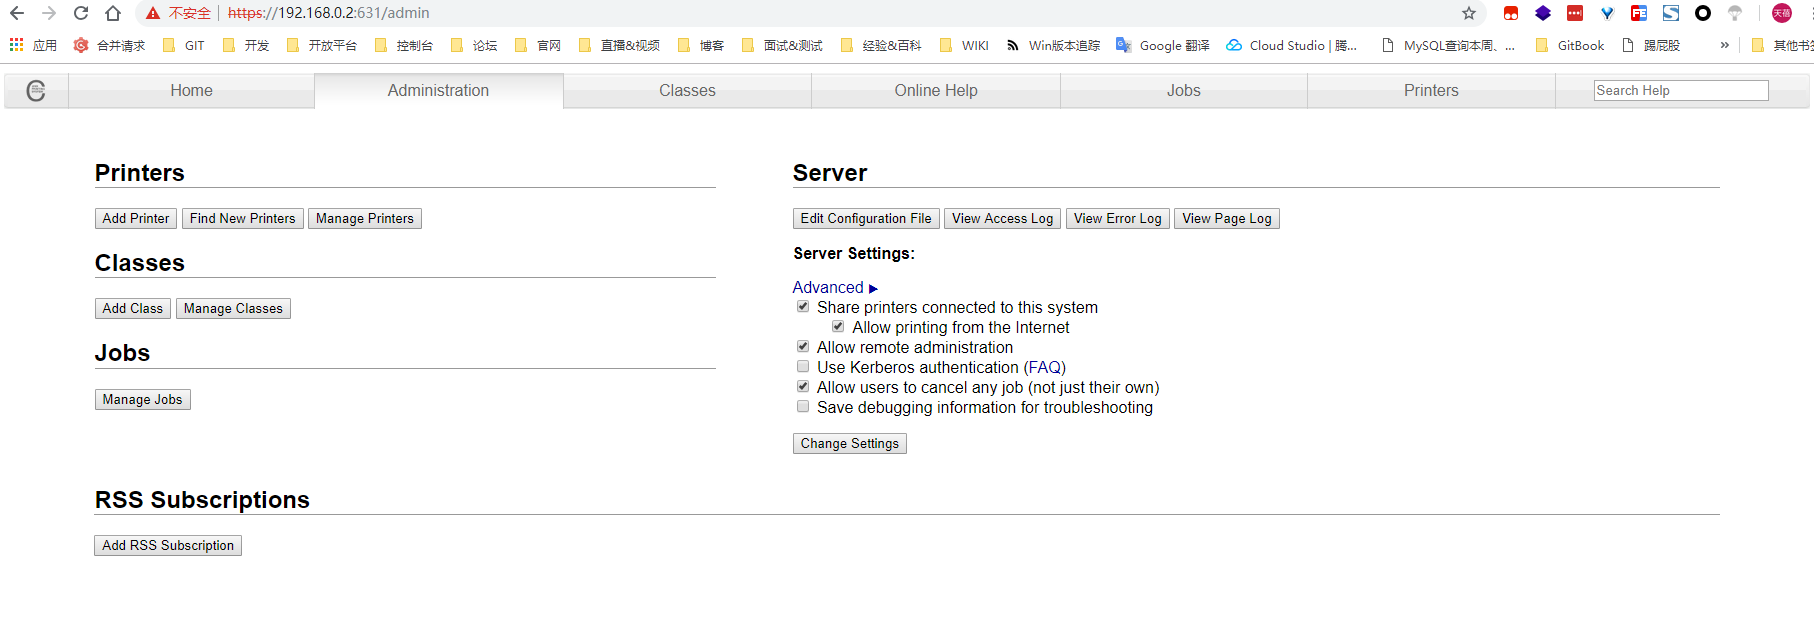
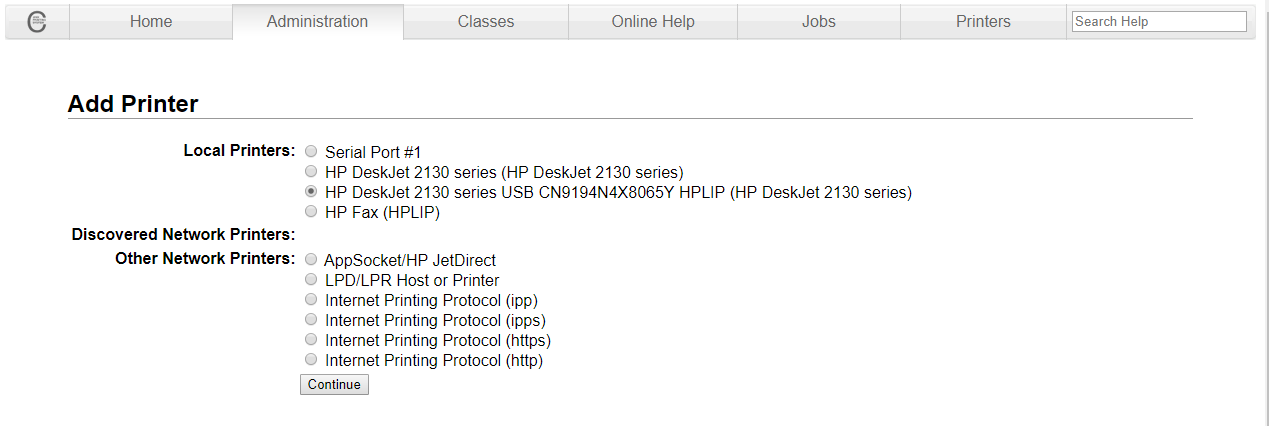
- 选择
Add Printer - 输入服务器的账号密码 一般就是
root然后服务器密码 - 选择打印机
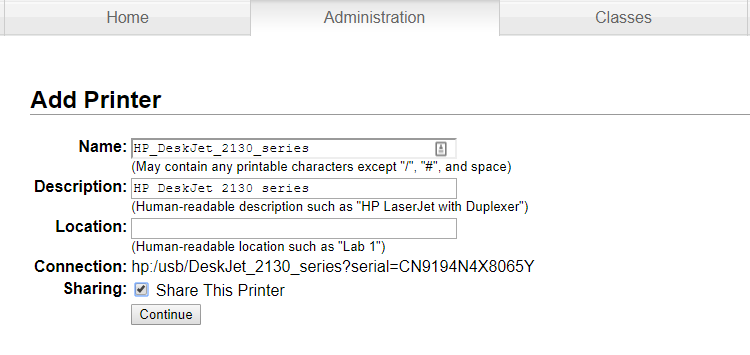
- 下一步 可以选择共享打印机
- 下一步 选择驱动 一般都会自动出来的 选择有
cups的 或者默认的都行(暂时不知道有什么区别) - 如果没有你的驱动 可以去
Windows上找对应的PPD文件 然后上传 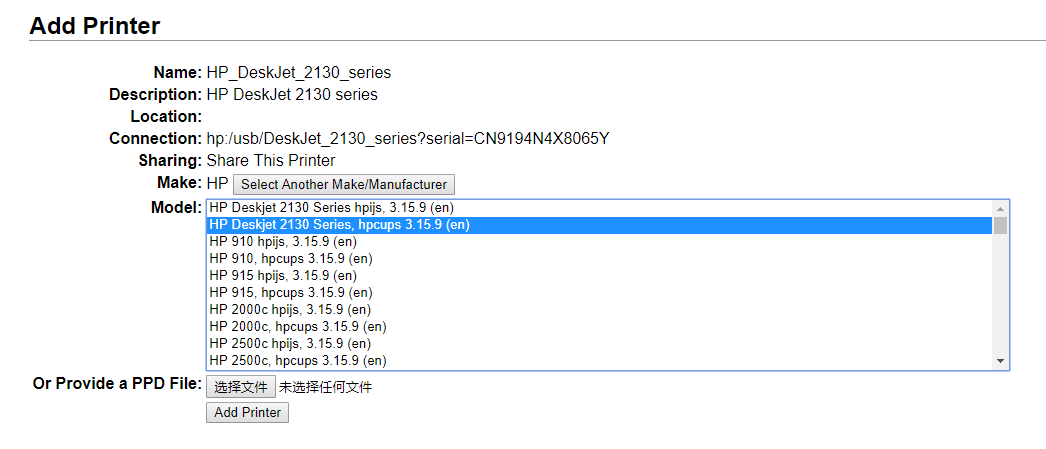
- 点击
Add Printer完成添加
第四步 测试打印机
- 打开打印机列表
http://服务器地址:631/printers/ - 选择打印机
- 选择
Maintenance=>Print Test Page打印测试页(点一下就行) - 然后看下能不能打印测试页(不能的话 我也不知道咋办 因为我一步完成了)
第五步 允许远程打印
- 打开管理界面
http://服务器地址:631/admin - 勾上允许远程打印
Share printers connected to this systemAllow printing from the Internet

- 点击
Change Settings应用配置
第六步 Windows 安装驱动和打印机
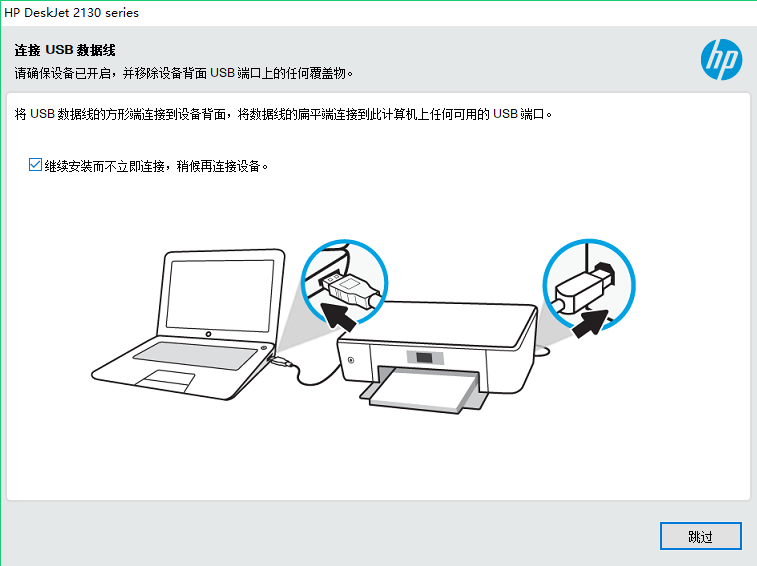
- 找到你的对应的打印机驱动 安装完成 如果提示连接 勾选稍候安装
- 打开
控制面板=>打印机和扫描仪 - 选择
添加打印机=>我需要的打印机不在列表中 - 选择
按名称选择共享打印机输入地址 - 地址就是打印机的详情页(注意 要
http的https的不支持) - 例如
http://服务器地址:631/printers/HP_DeskJet_2130_series 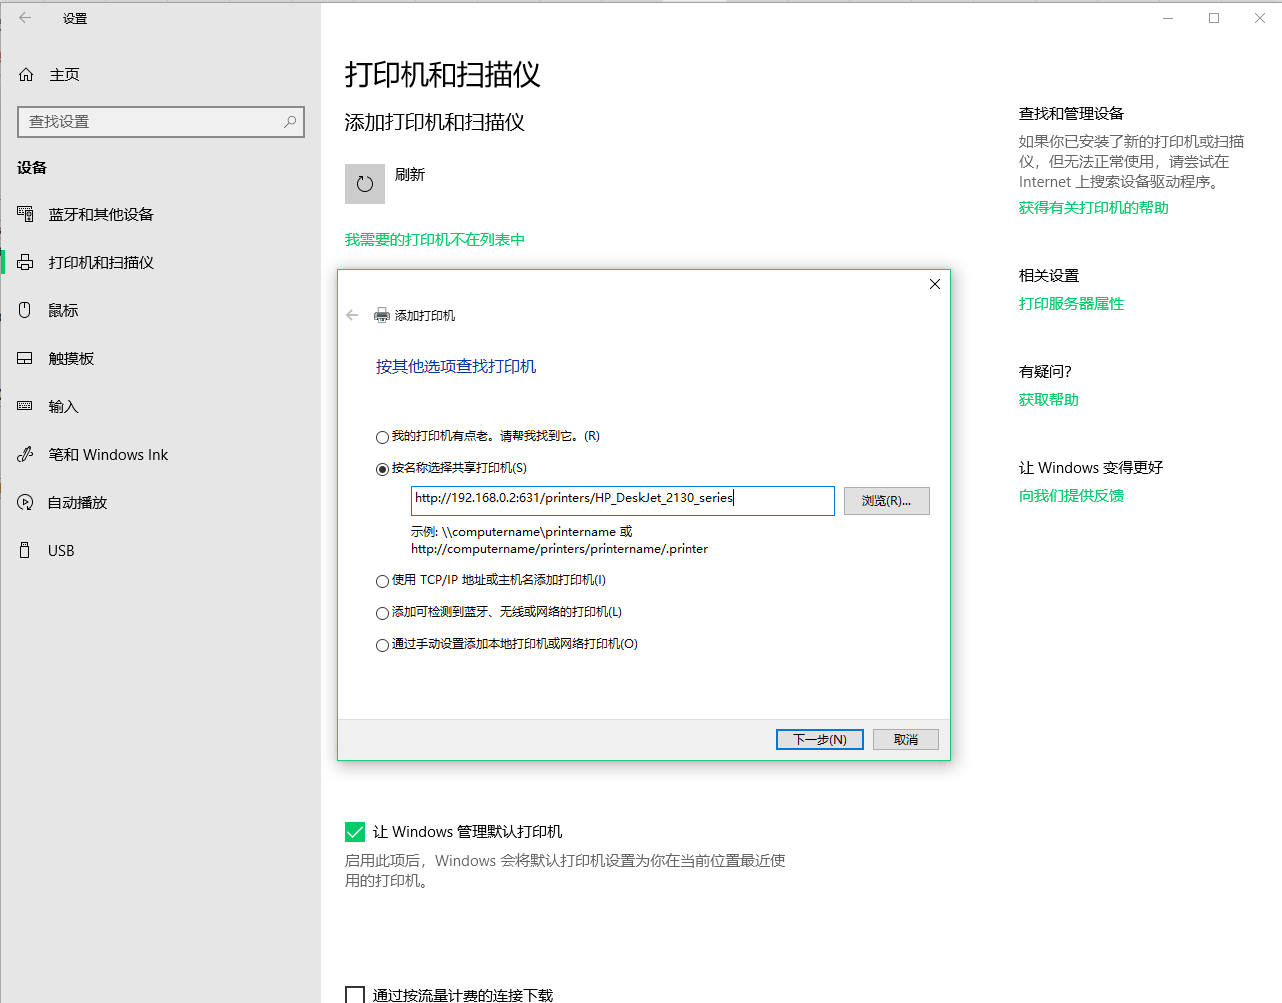
- 点击下一步 选择打印机驱动(多找找 可能名称是简写 比如我这个 我找了半天)
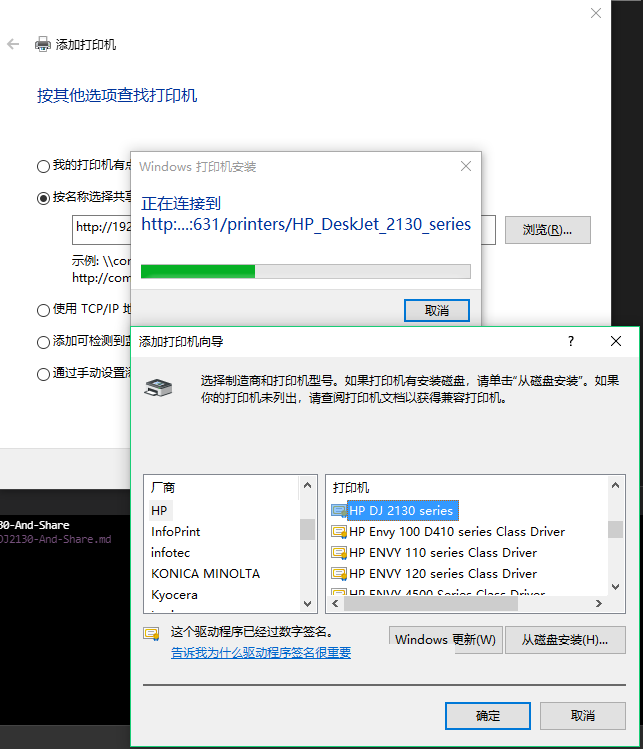
- 剩下的就和
Windows共享打印机一样了
安装扫描仪
第一步 安装 扫描仪驱动和软件
1 | yum install sane-backends hplip* |
第二步 修改配置 打开数据端口(记得防火墙也要开) 允许远程访问 任意位置添加一行单独的 +
1 | [root@local sane.d]$ nano /etc/sane.d/saned.conf |
第三步 启动服务
1 | # 开机自动启 |
第四步 检查是否能检测到扫描仪
1 | [root@local swirl]$ sane-find-scanner -p |
第五步 安装 Windows 软件
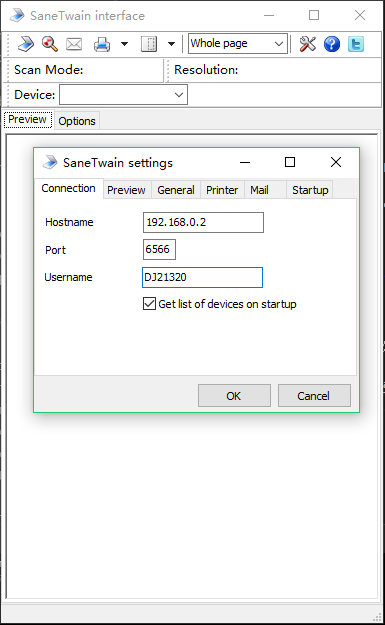
第六步 配置扫描仪
- 打开刚才安装的软件 填写扫描仪地址
- 嗯 就那么简单 结束了 剩下的软件怎么用 那您老就自己研究吧
- 哦 对了 突然发现这个东西有汉化的
- 点击 扳手 就是右上角倒数第三个
- 选择
Startup=>Use an interface language=>zh_CN - 默认是黑白扫描 如果要彩色
ScanMode选择Color - 第一个按钮是 扫描保存文件
- 第二个按钮是 预览扫描(别相信预览结果 以文件保存结果为准 不要问我为什么)
- 第三个是邮件发送
- 第四个是直接打印
注意事项
- 如果过觉得画质不好 可以适当调高分辨率(100 200 差不多了)
- 但是不要调太高 1200 的分辨率 生成的图像有 200 多M